Brian Rogers

1977 Chevy Caprice Classic Project

Brian @ LunagenLabs . com


1.

2.

Here she is in about '97. I bought the car in the spring of '94 in this condition (minus the wheels and engine work) with about 160,000 miles on the clock. It had been repainted about three years earlier and had dual 2" exhaust run off the manifolds about two years earlier. Barely visible are the functional, yet non-factory dual antennas just behind the rear window. It also had full trailer brakes, as the owner had been using it to haul a travel trailer of some sort. The body was only in such great shape after 14 years of Michigan winters because he sprayed oil inside the various body panels and under the car. It'd also leaked it's fair share apparently. The seats, headliner and rear deck were done in a black velour material and were in great shape, but I'm replacing the carpet with a pre-molded piece from Auto Custom Carpets.

As I bought the car, it had a 305 with a Quadrajet from an '84 van and a 350 tranny, both with about 70,000 on them. The engine compartment was otherwise untouched and real dungy. In '95, I yanked the intake and installed a tuned-port unit from an '86 TransAm. I used a harness and computer from Howell Engine Developments. Also, a Flex-a-lite dual electric fan was installed. I steam cleaned and painted the whole thing and painted some of the engine parts matching blue DuPont Centari enamel. Got that all done early in Jan. '96, and shortly after, the oil pan rusted out. I already had a decent 350 assembled, so that went in. That spring, I redid the exhaust with BlackJack headers and FlowMaster mufflers. Dual 2-1/2" pipes and 3" tailpipes. Sounded like a drag car, but it was way too loud so I swapped the Flowmasters for more subtle turbo mufflers.


1. I did this quick Photoshop concept several years ago. It's still pretty close to what I envision. The only major change I see is running a little more sidewall. I'll likely do an accurate 3D model at some point so I can play with different stances, wheel & tire combos and stuff with.


1.2.

3.4.

5.6.

7.8.

9.10.

11.12.

13.14.

15.16.

17.

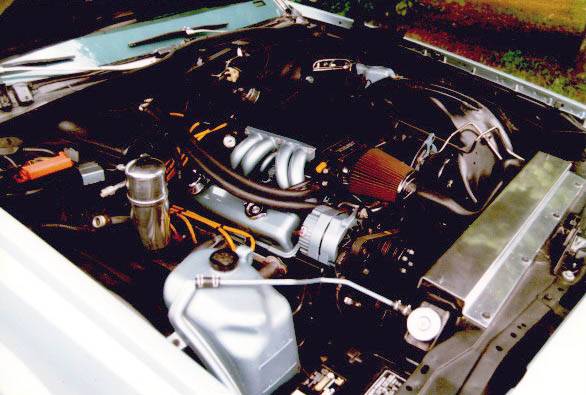
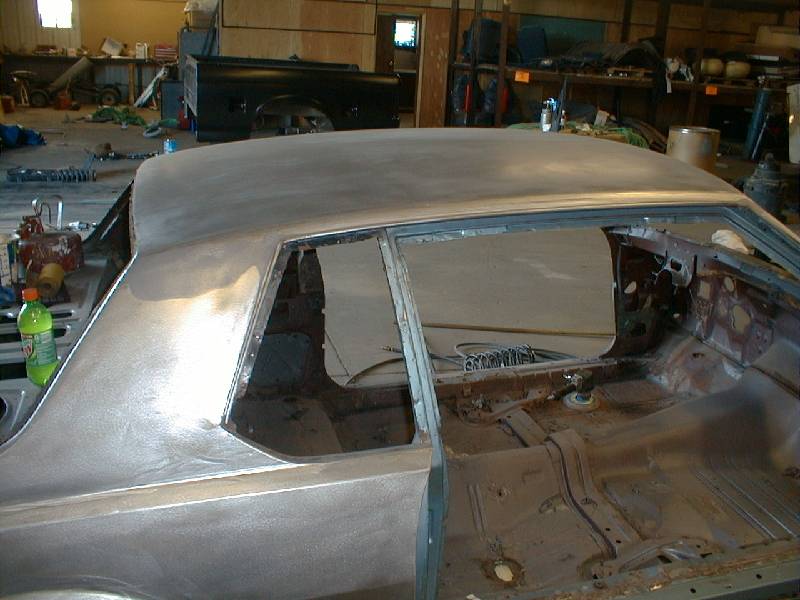
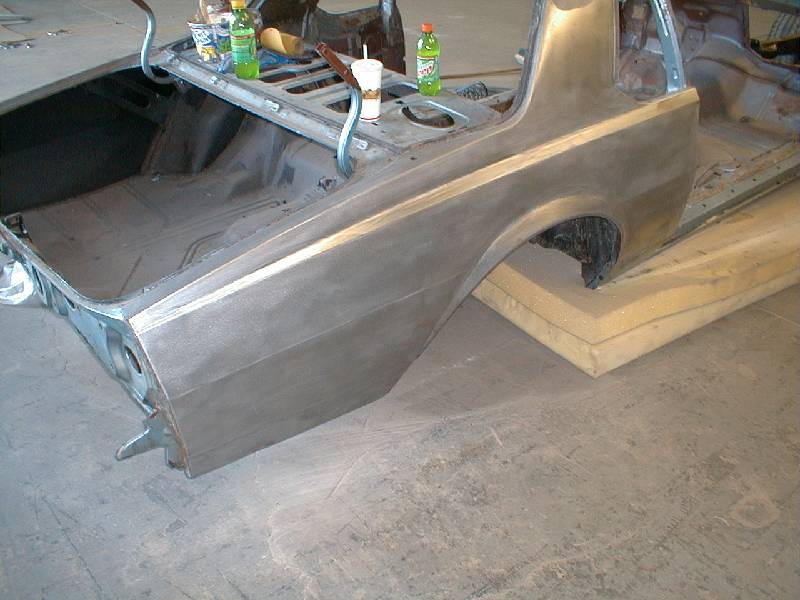
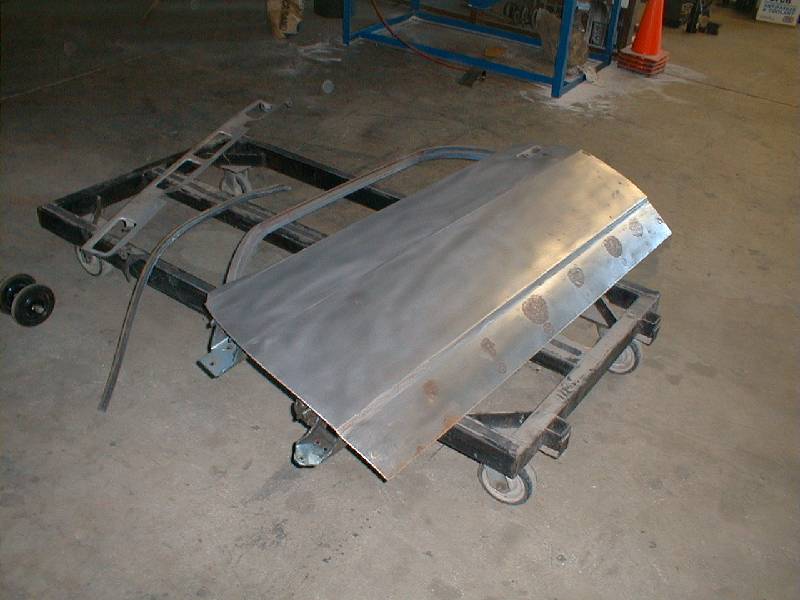
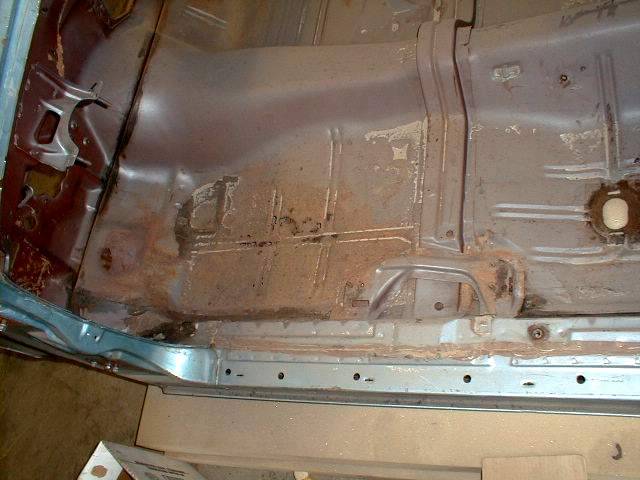
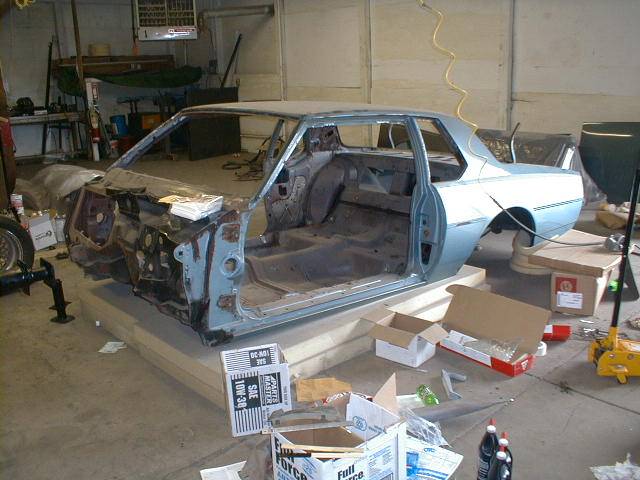
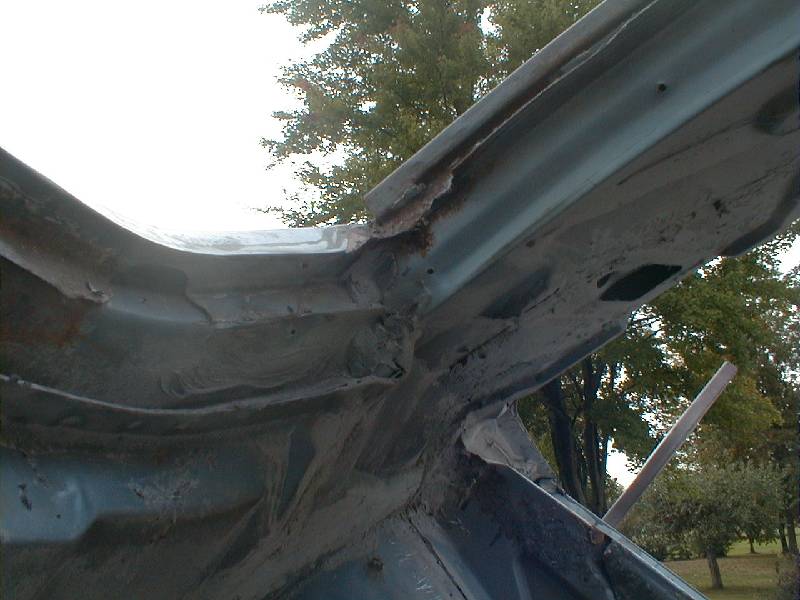
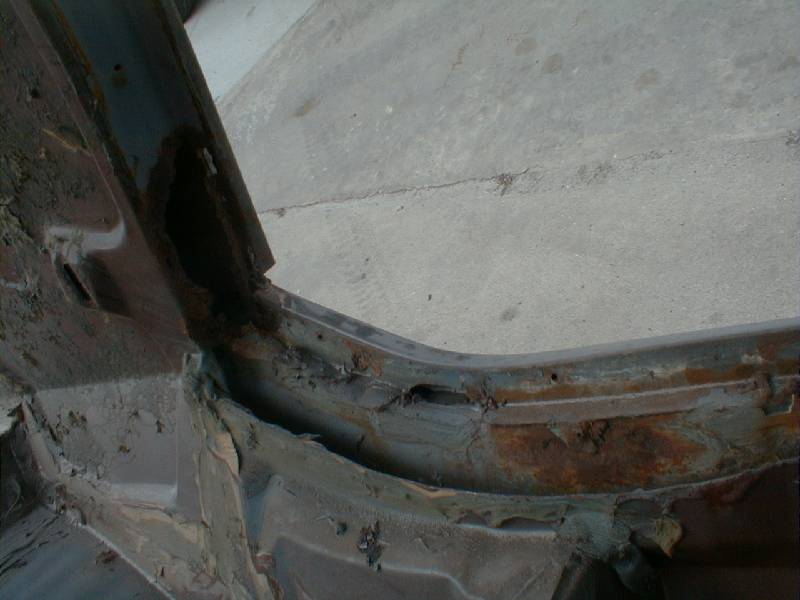
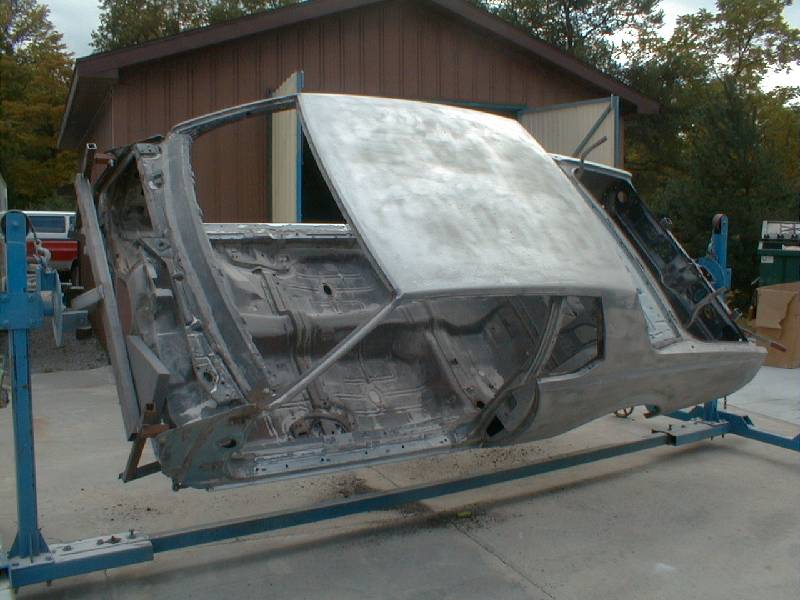
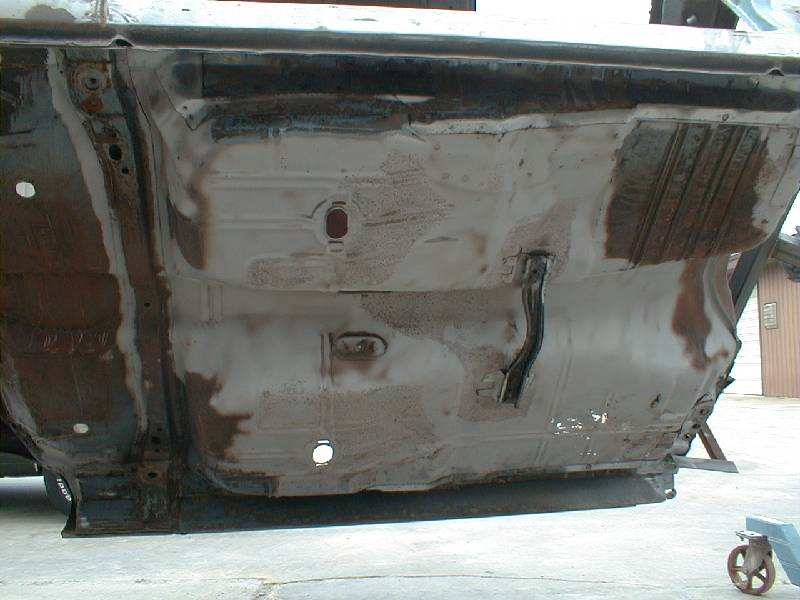
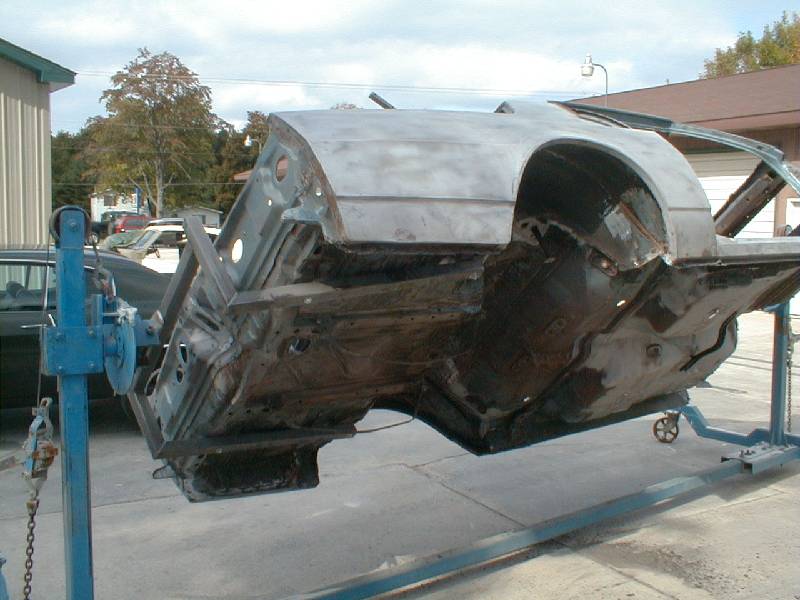
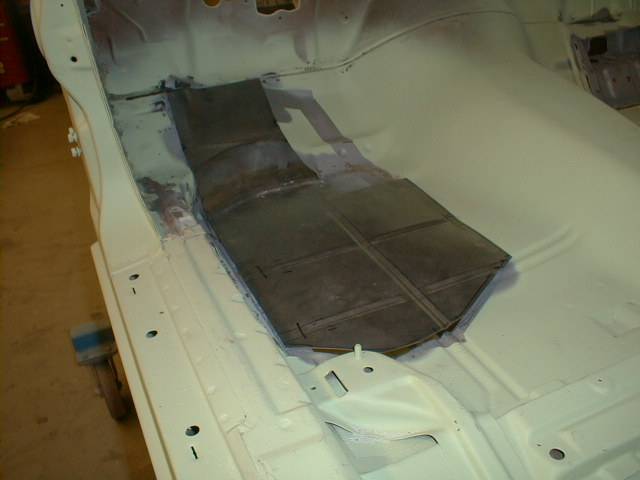
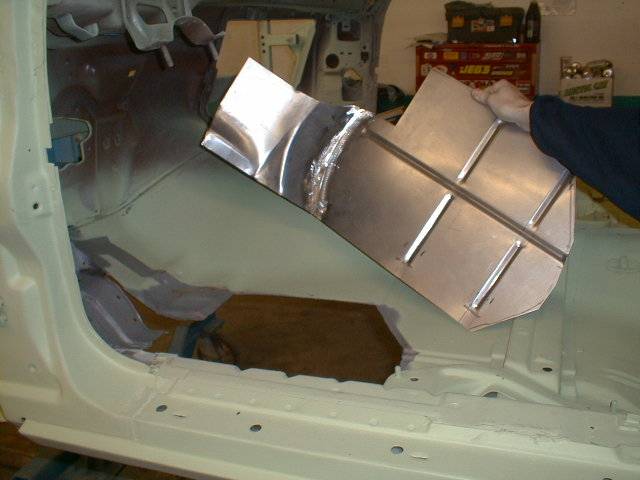
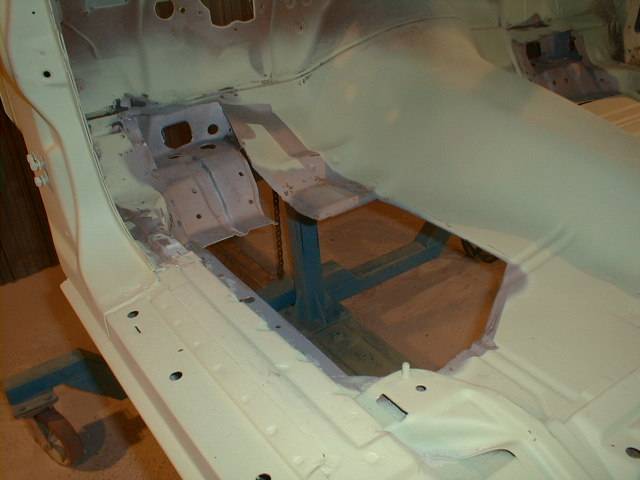
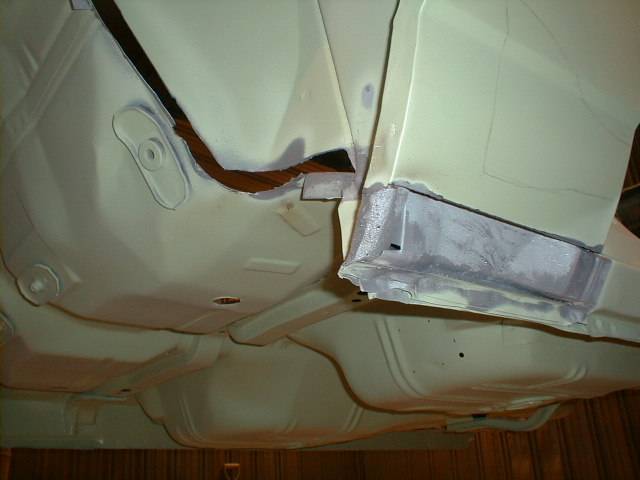
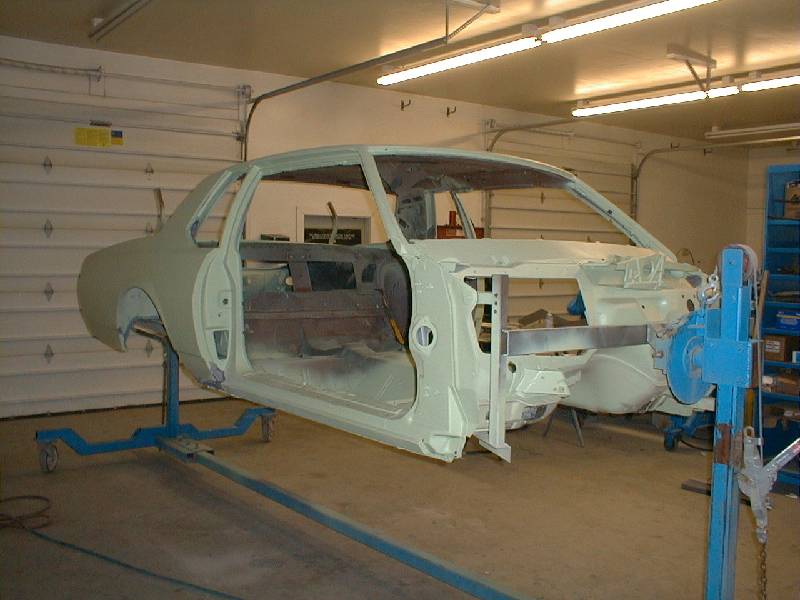
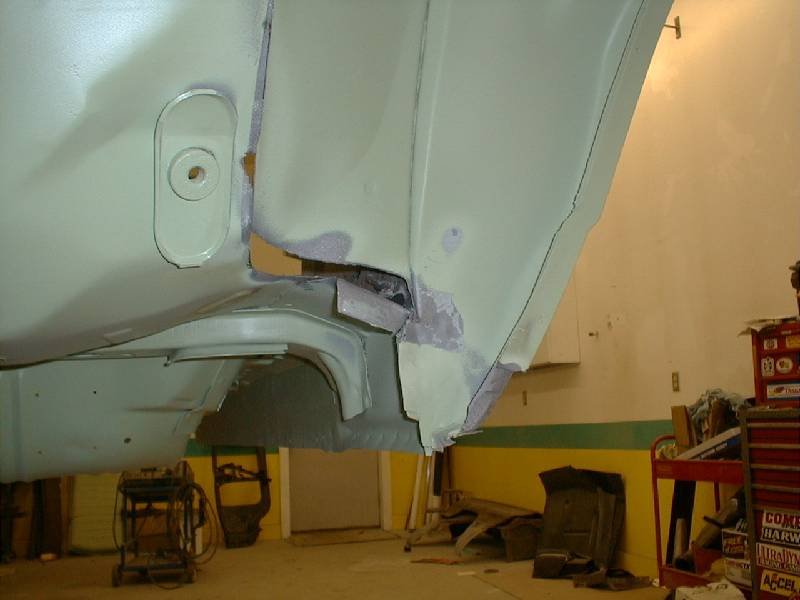
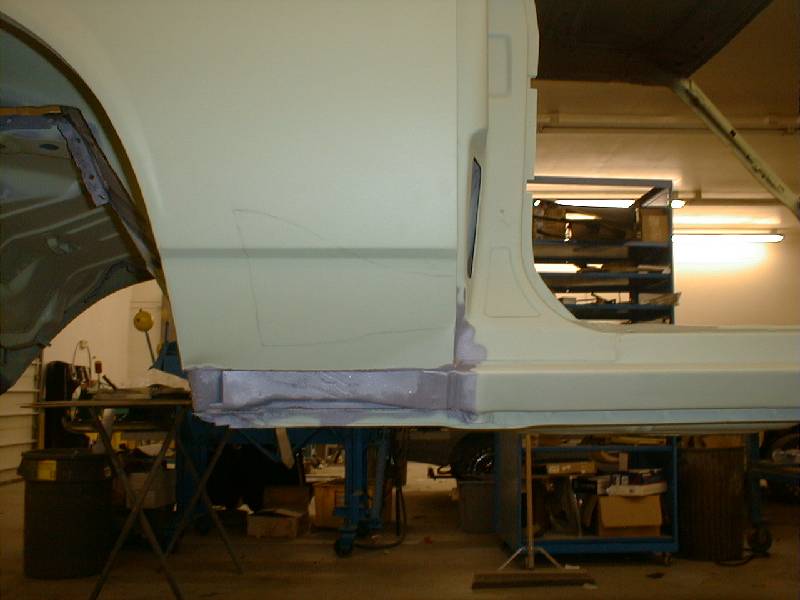
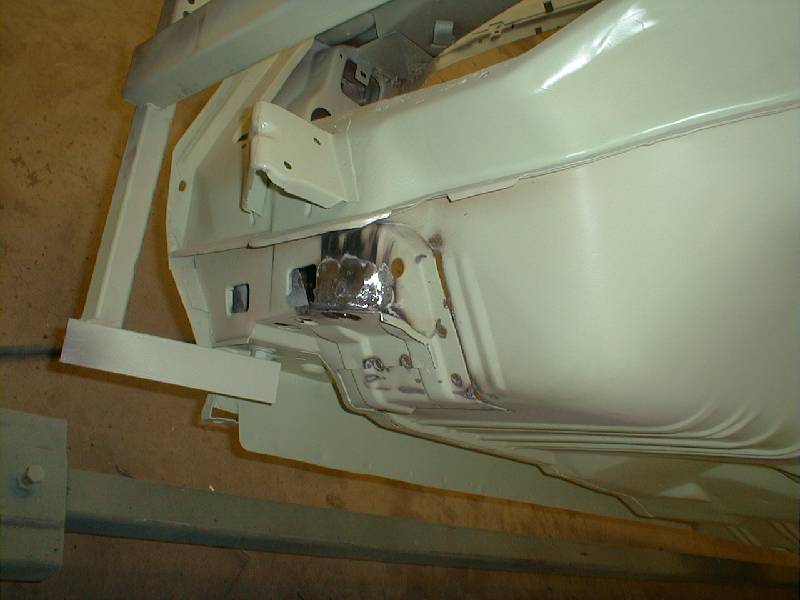
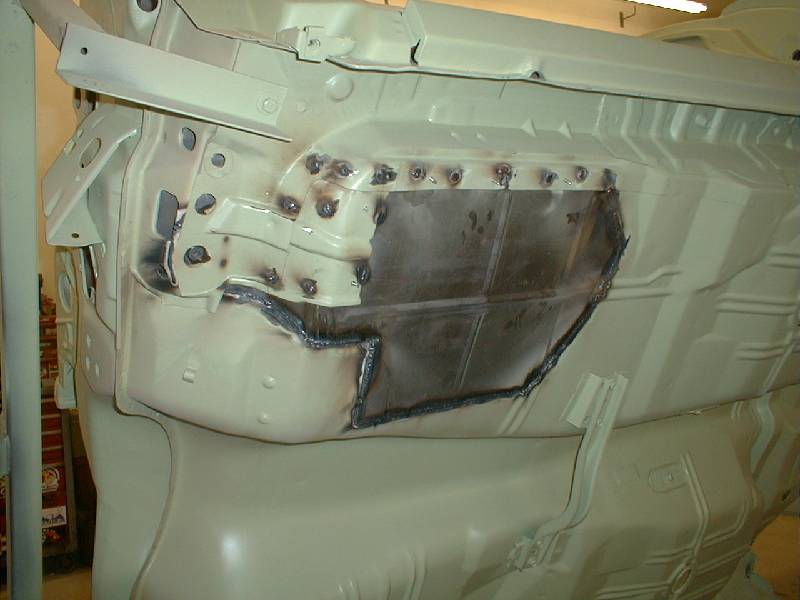
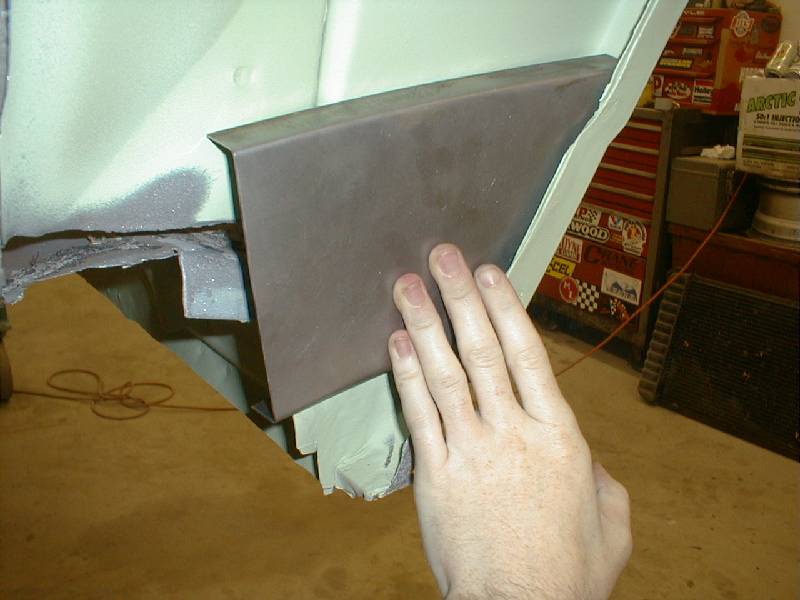
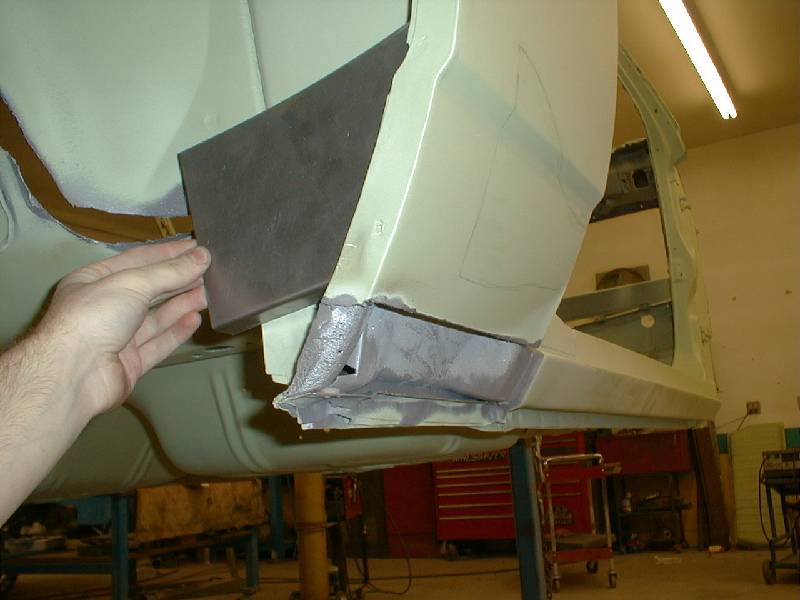
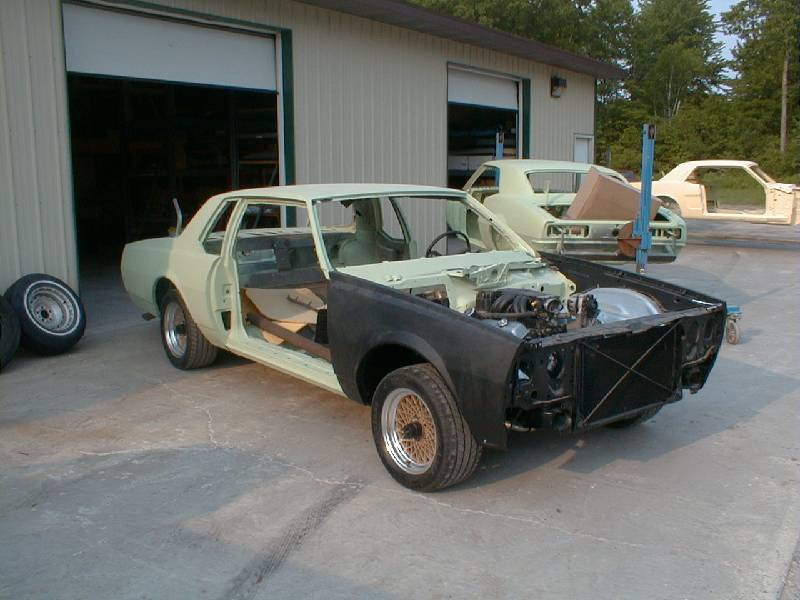
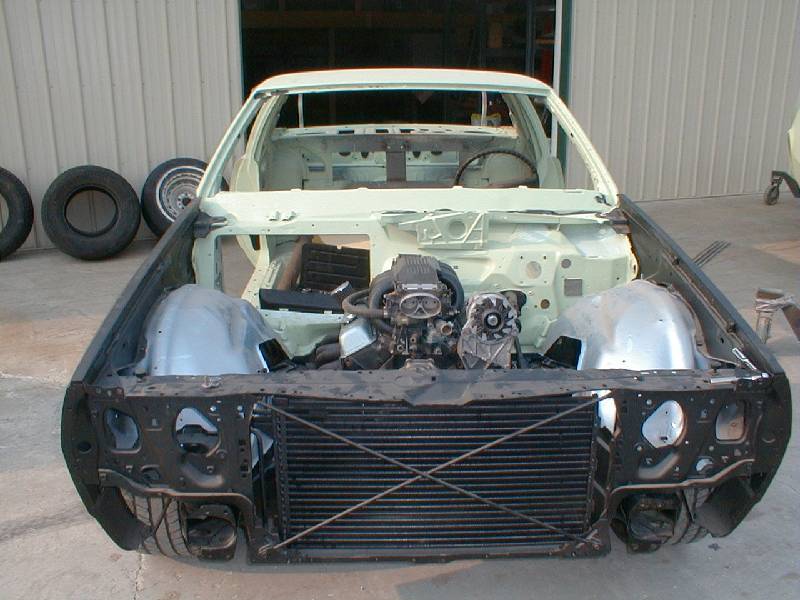
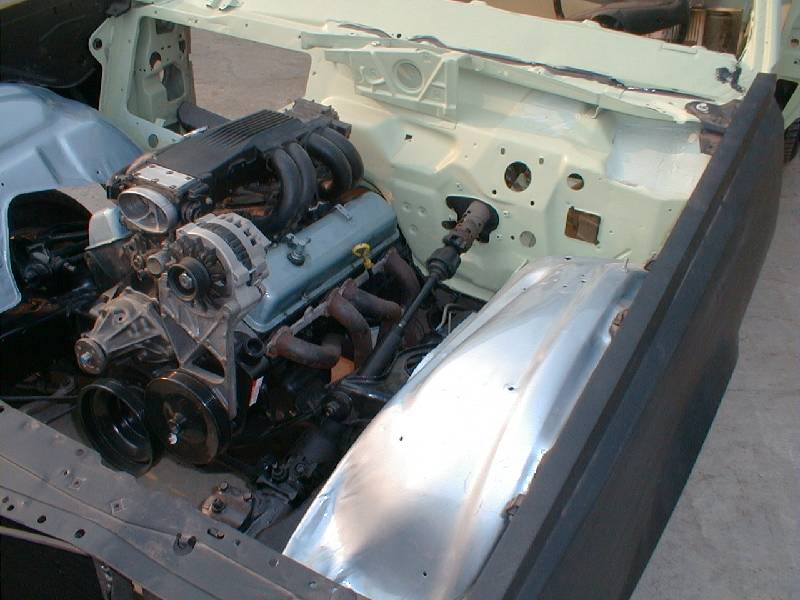
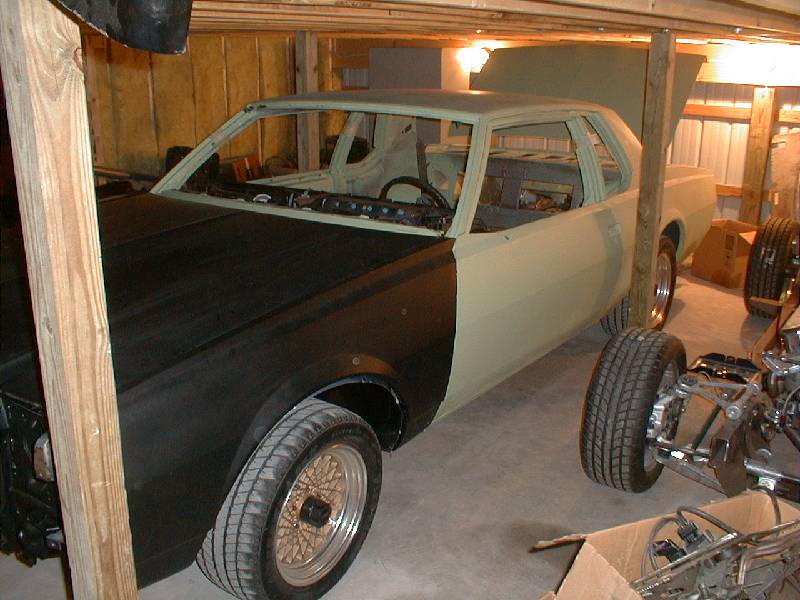
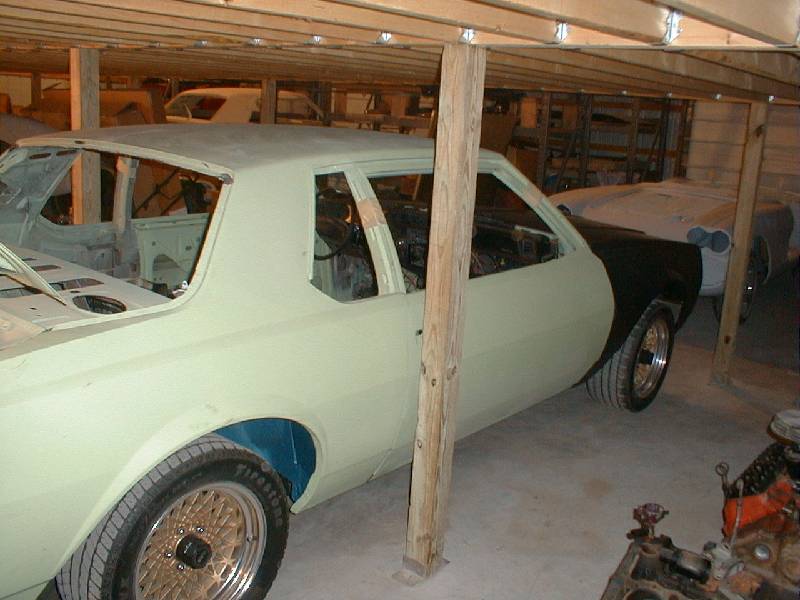
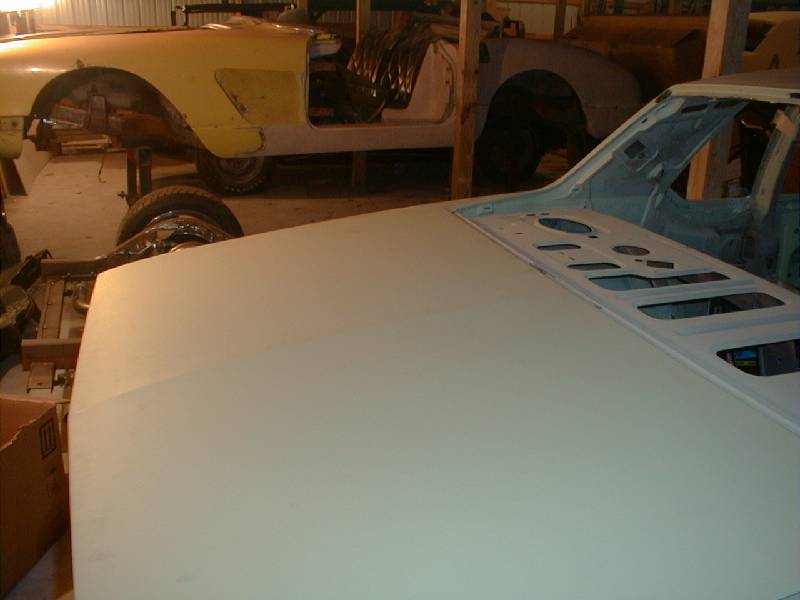
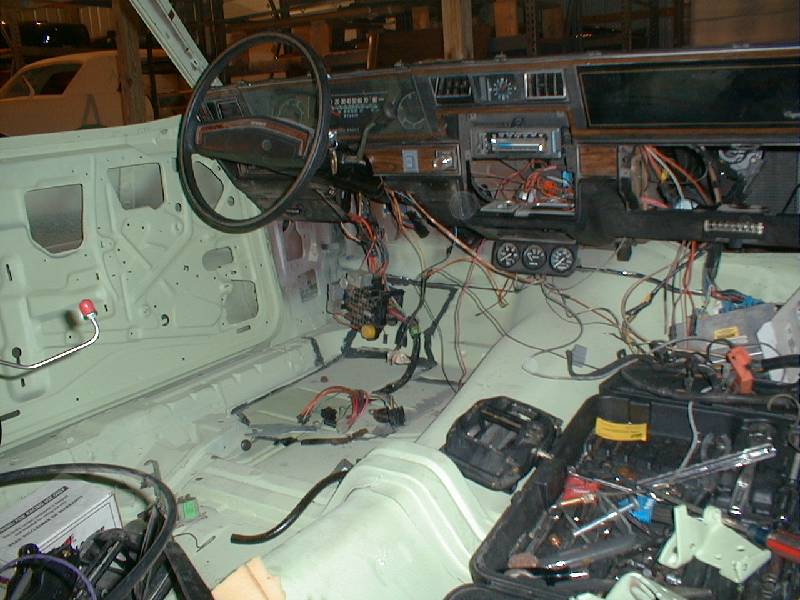
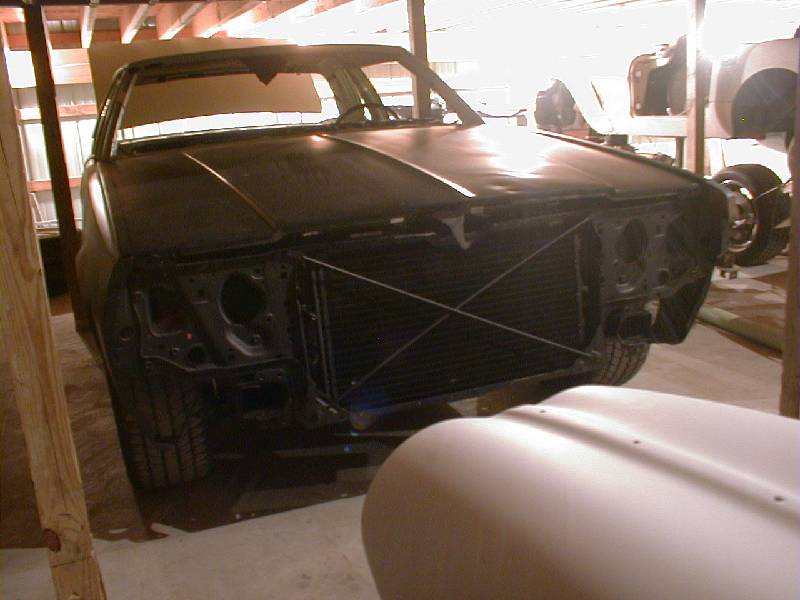
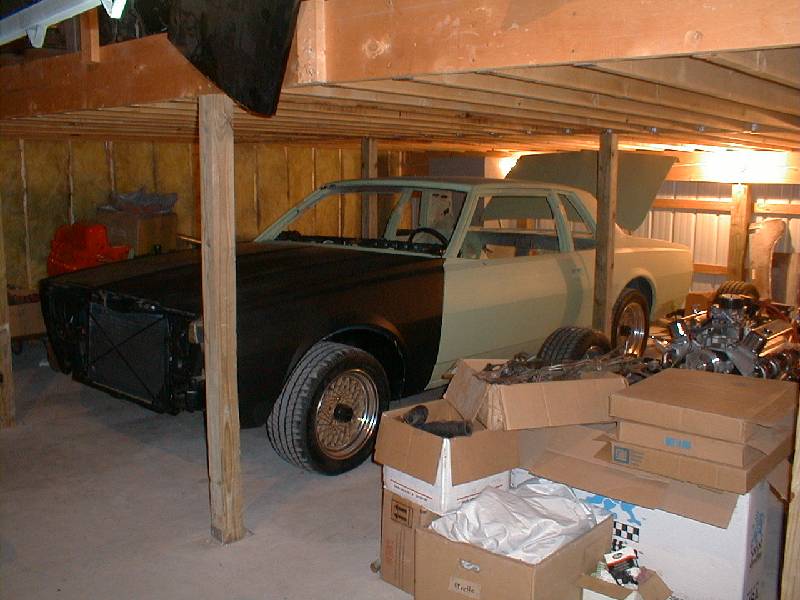
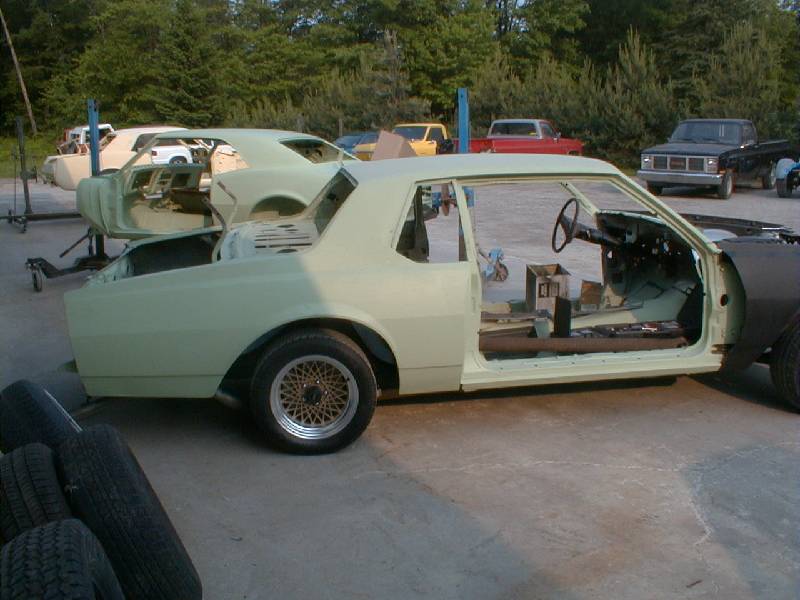
I parked the car in the fall of '97 after finally working out all the EFI bugs (actually, I'd improperly installed the cam, dang). I'd racked up about 5,000 miles on the injection, including some dead-of-winter time. Started and idled perfectly even at 30 below zero F. By this point, the paint was beginning to shrink down to were the old laquer-checking was getting bad and there were a few small spots of rust starting. Figured I'd better tear it down and repaint it before it went too far. Pretty much sat until the spring of 2000 when I sold the Syclone (ouch) to finance the Caprice project.

These shots show the body, off the frame, in various stages of being stripped and blasted to get ready for some metalwork. I never thought I'd actually take the body off the frame, but it seems to be the way to go and it's not as bad as you'd think. As you can see, the body's really pretty clean and quite straight. It did have a few bad spots that showed up once things started coming apart. Lots of small holes in the driver's floor pan and in the quarter window areas. The flanges around the rear wheel wells also needed some attention.

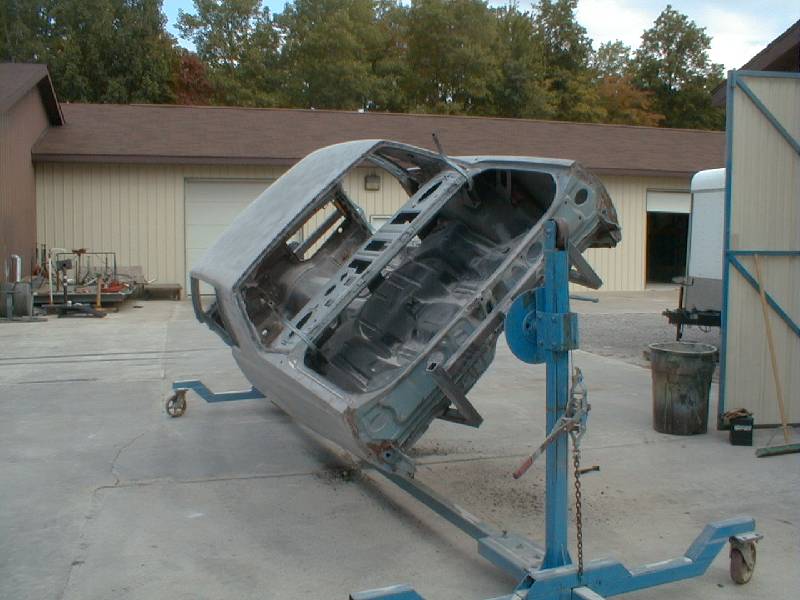
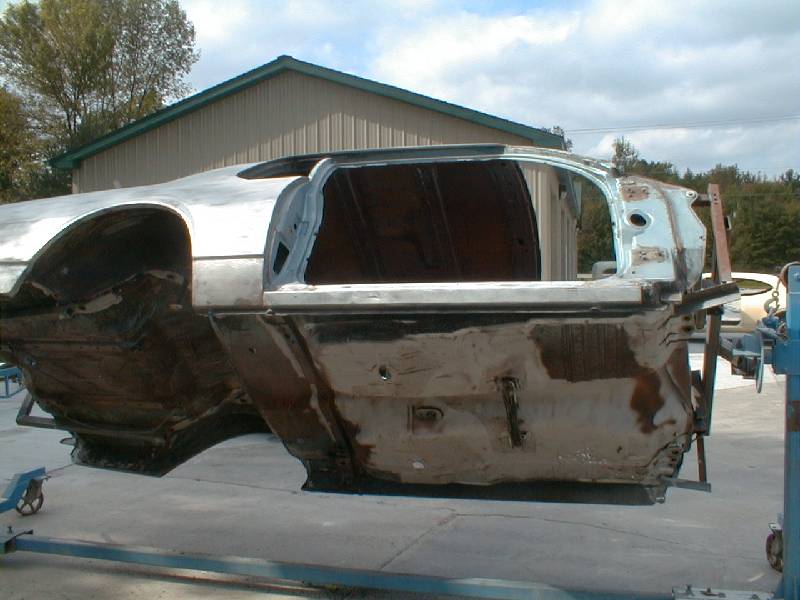
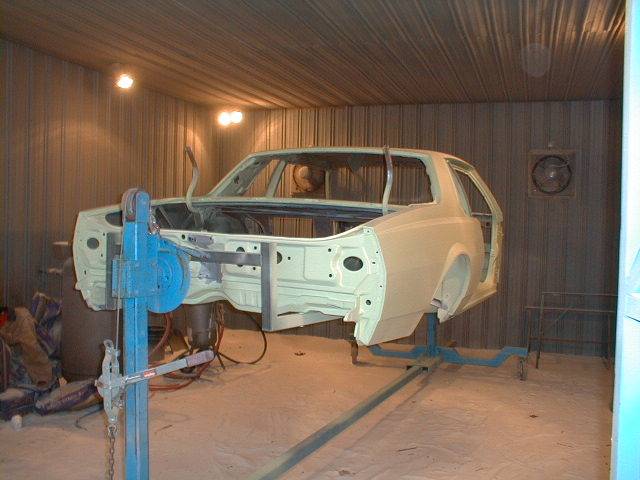
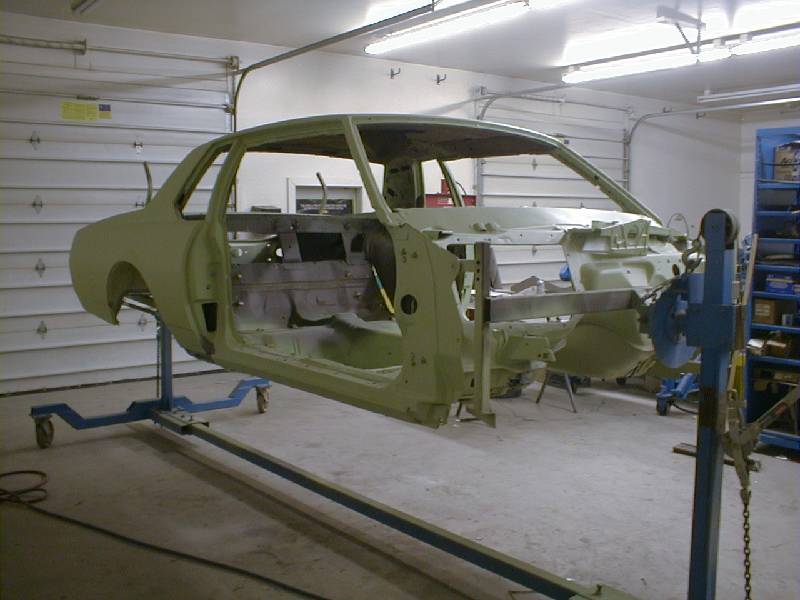
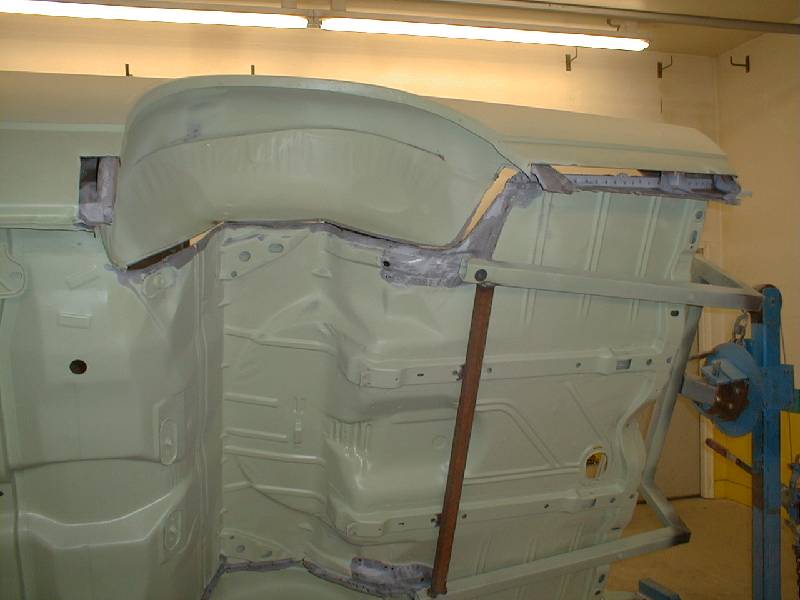
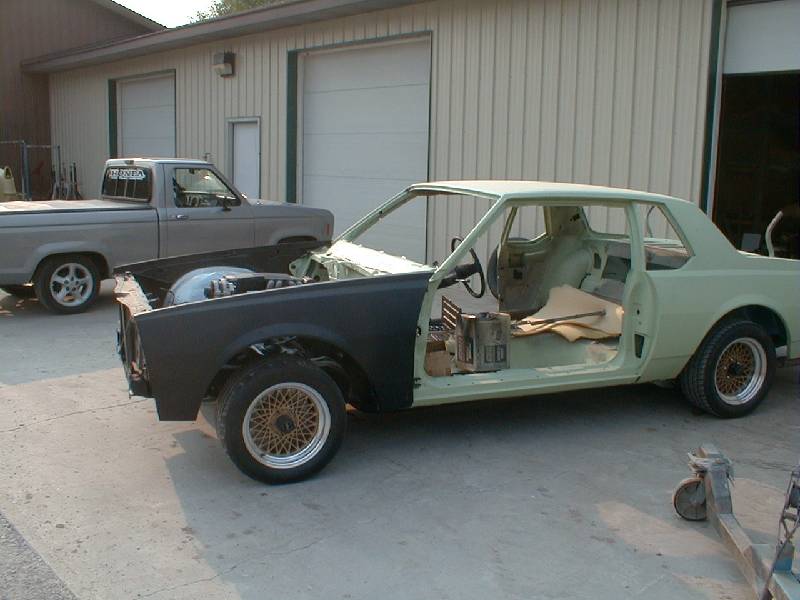
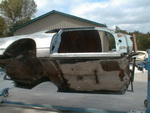
The pics of the body on the rotisserie are at Randy Church Restorations in St. Charles, MI. They do some first-class bodywork there, even won a few national awards, including World's Most Beautiful Paint at the Oakland Roadster Show. The rotisserie is easily the best way to do work on a body like this. You can spin it 360 degrees to work on any surface without crouching or ladders.

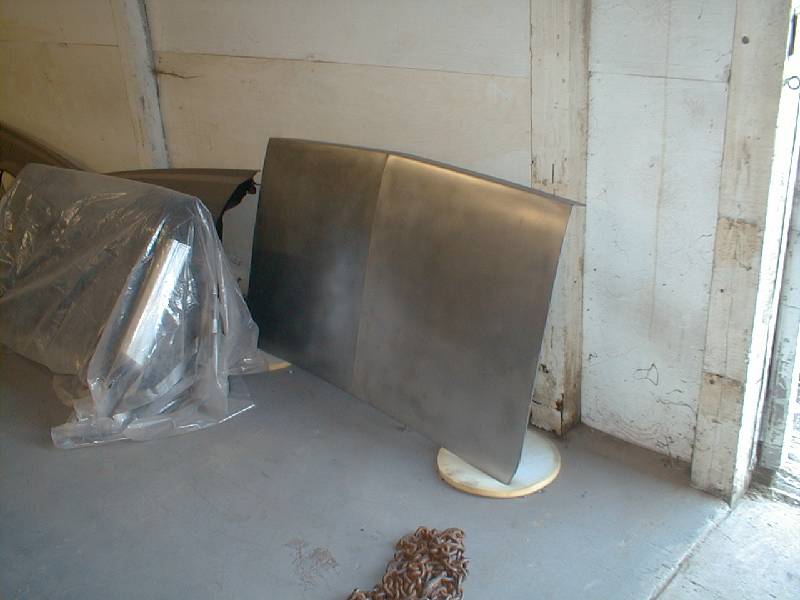
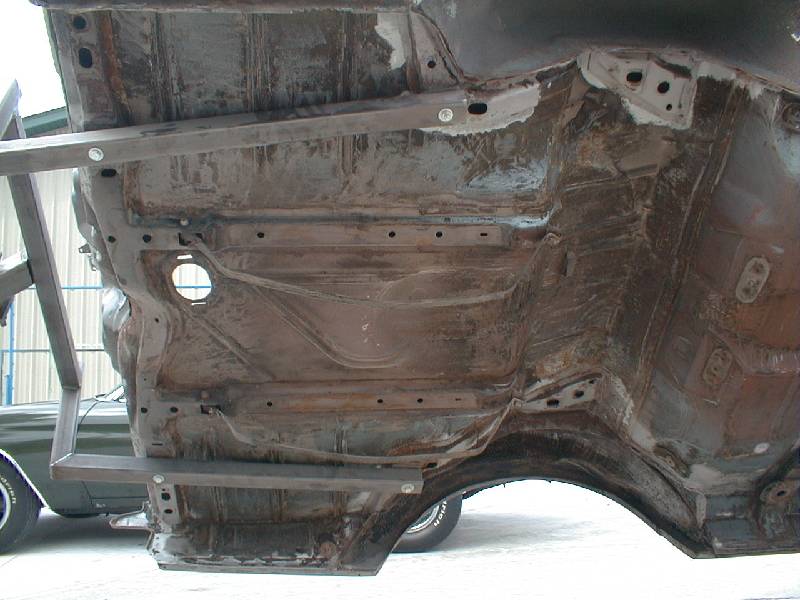
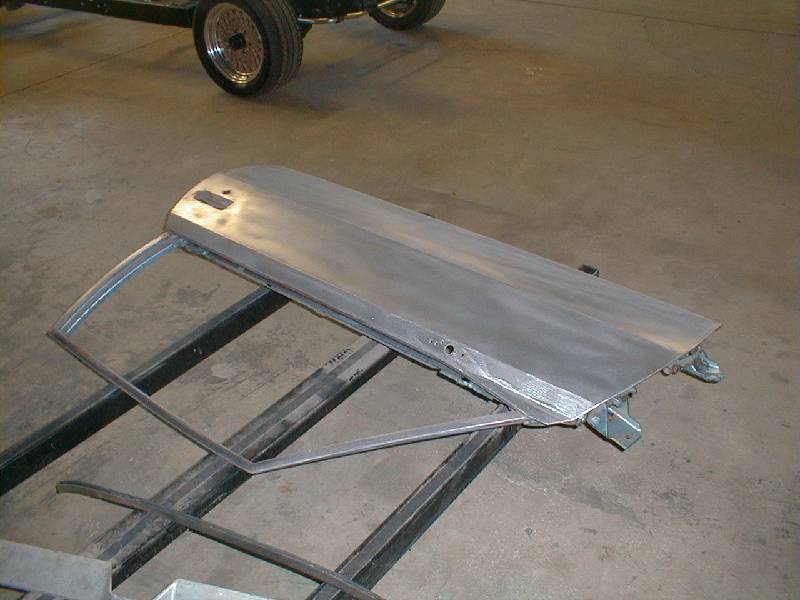
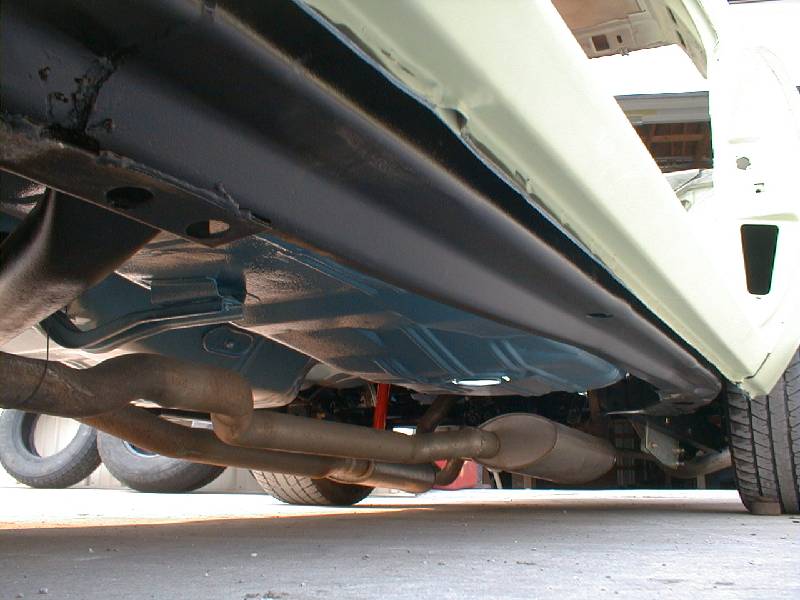
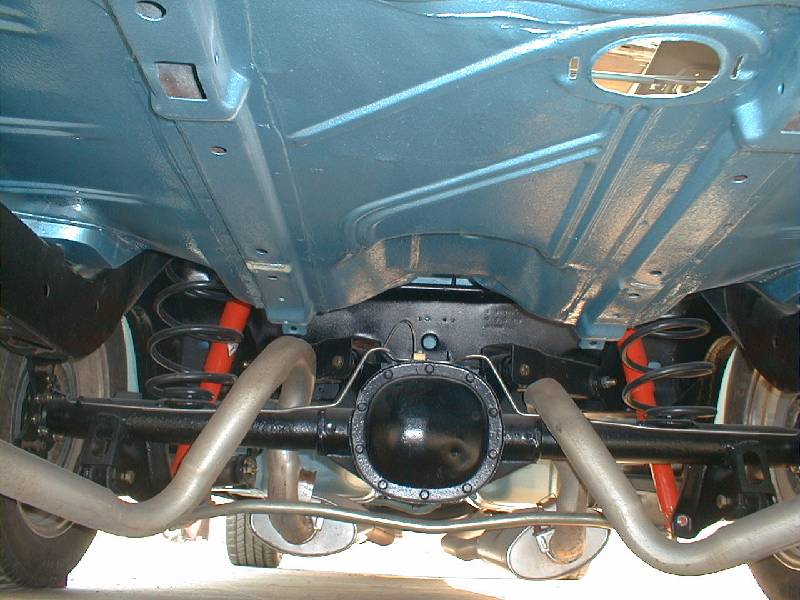
The painted surfaces were stripped with chemical stripper and the underside was sand blasted. The whole thing was then primed with Glasurit's etching epoxy primer.


1.2.

3.4.

5.6.

7.8.

9.10.

11.12.

13.

Metalwork pics.

1.

2.

The scrapped rear brake duct idea.

1.

2.

3.

4.

5.

6.

Body pics with underside painted.

1.2.

3.4.

5.6.

7.8.

9.10.

11.12.

13.14.

15.16.

17.18.

19.

Chassis Pics.

1.

2.

The near-completed chassis next to the finished body.

1.2.

3.4.

5.6.

7.8.

9.10.

11.12.

13.14.

15.

The body back on the chassis.